【R】imageclipr
2020年8月30日
1. はじめに
クリップボードのイメージをrmdファイルにコピーできるRStudioのアドインのimagecliprです。
2. インストール
devtools::install_github('Timag/imageclipr')3. 使ってみる
RStudioを再起動し、rmdファイルを保存後に利用できるようになりました。
例えば、次のようなrmdファイルを作ります。
---
title: "imageclipr_ex"
output: html_document
---

```{r setup, include=FALSE}
knitr::opts_chunk$set(echo = TRUE)
```

## R Markdown

This is an R Markdown document. Markdown is a simple formatting syntax for authoring HTML, PDF, and MS Word documents. For more details on using R Markdown see <http://rmarkdown.rstudio.com>.

When you click the **Knit** button a document will be generated that includes both content as well as the output of any embedded R code chunks within the document. You can embed an R code chunk like this:

```{r cars}
summary(cars)
```
クリップボードにイメージをコピーします。
そして、RStudioの上部メニュー[Addins]から、[Paste Image to Rmd file]を選択すると、rmdファイルへ画像のリンクが追加されます。下の例ですと、最終行に追加されています。
---
title: "imageclipr_ex"
output: html_document
---
```{r setup, include=FALSE}
knitr::opts_chunk$set(echo = TRUE)
```
## R Markdown
This is an R Markdown document. Markdown is a simple formatting syntax for authoring HTML, PDF, and MS Word documents. For more details on using R Markdown see <http://rmarkdown.rstudio.com>.
When you click the **Knit** button a document will be generated that includes both content as well as the output of any embedded R code chunks within the document. You can embed an R code chunk like this:
```{r cars}
summary(cars)
```

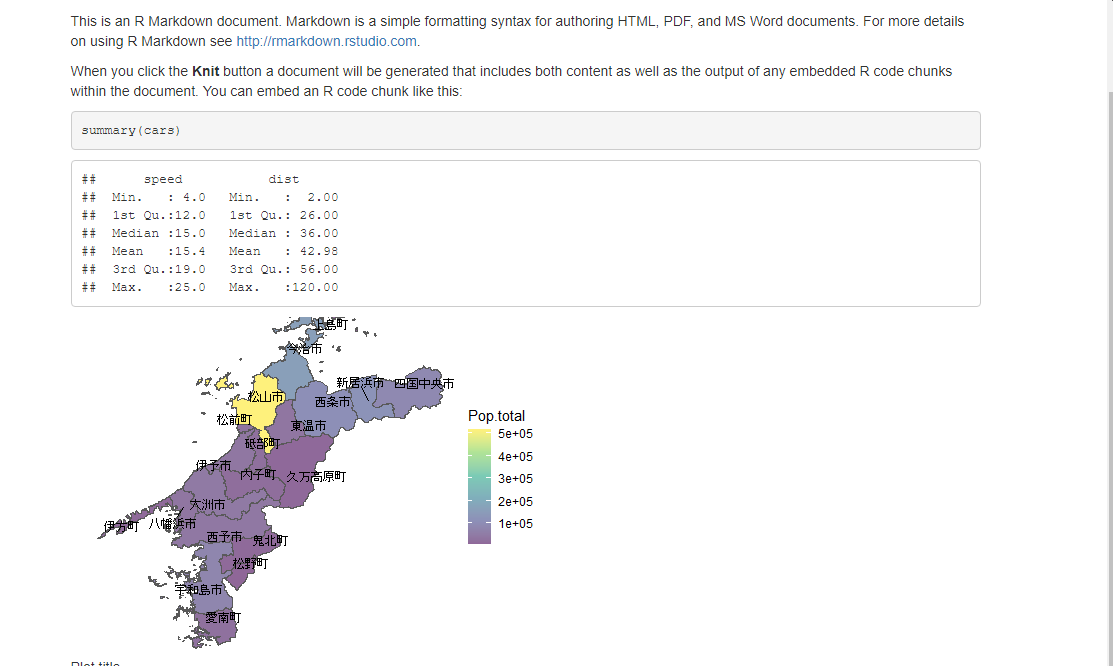
knittすると、ちゃんとクリップボードに取り込んだイメージがついかされているのがわかります。
4. さいごに
モニタに表示されている画像を取り込むのにちょっと便利なアドインです。